
Hi, if you are reading this you probably already know what a honeypot is, so I will skip the intro and get straight to the interesting part.
However if you don’t know what a honeypot is you can read this great post by imperva.
I will walk you through a fairly easy setup and by the end of the post you will be able to build a High-interaction honeypot using the Cowrie SSH honeypot.
High-interaction honeypots use complex setups that behave like real production infrastructure. They don’t restrict the level of activity of a cybercriminal, providing extensive cybersecurity insights. However, they are higher-maintenance and require expertise and the use of additional technologies like virtual machines to ensure attackers cannot access the real system.
To avoid any additional security hardening and redundant administrative overhead, I used a dedicated VM on Hetzner cloud.
Ubuntu 20.04 with 2 Vcpus and 2GB Ram will do the trick.
1. Installing dependencies & User creation
Once we have the server up and running, SSH into it and let’s start by updating, upgrading and installing the required dependencies.
$ sudo apt-get update && sudo apt-get upgrade -y
$ sudo apt-get install git python3-virtualenv libssl-dev libffi-dev build-essential libpython3-dev python3-minimal authbind virtualenv python3-virtualenv -y
Even though this is just a test-dedicated VM we shouldn’t run any commands or create environments with the root user. Plus, creating a dedicated non-root user is just one line.
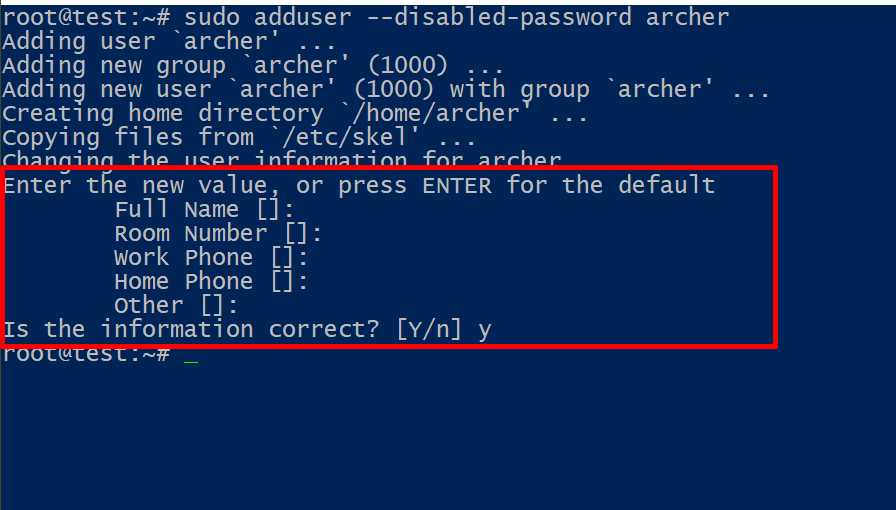
$ sudo adduser --disabled-password archer
We can safely accept the defaults and skip ahead.
2. Create & Activate the virtual environment
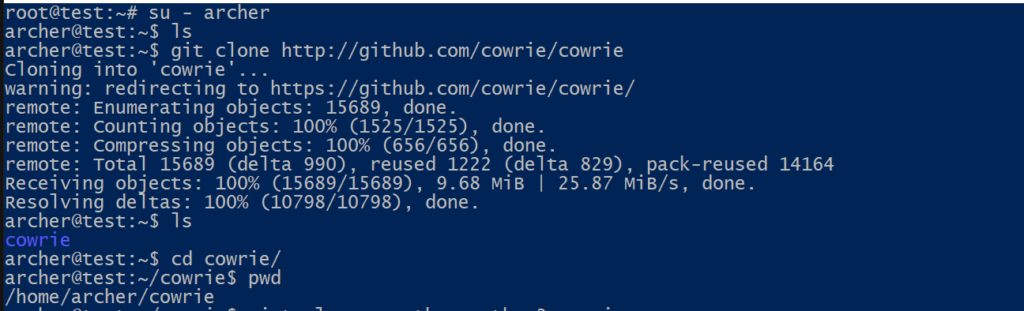
Great, now that we have the non-root user let’s use it to get the code.
# su - archer
$ git clone http://github.com/cowrie/cowrie
$ cd cowrie && pwd
Once we have the code, we can create and activate the virtual environment.
$ virtualenv --python=python3 cowrie-env
$ source cowrie-env/bin/activate
If the environment activation was successful our prompt should be as seen below.

Now that the environment is activated we’ll need to install the required packages.
$ pip install --upgrade pip
$ pip install --upgrade -r requirements.txt
The hard part is nearly over. We now have a virtual environment which will host our honeypot. The environment uses it’s own fake filesystem so attackers actions won’t affect the actual VM.
3. Configuration
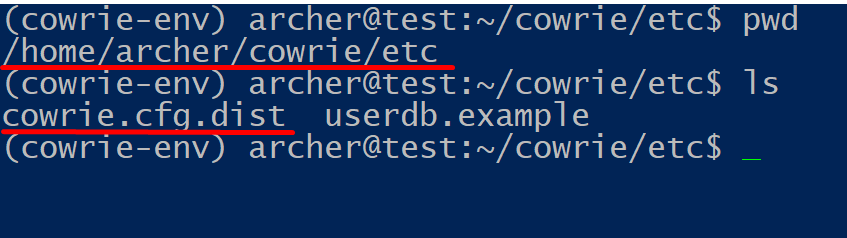
Before activating the honeypot you might want to make a few edits in the configuration file. The (default) configuration is stored in cowrie.cfg.dist and any custom configuration should be placed in cowrie.cfg ; if this file does not exist, you can simply create it by hand.
Cowrie merges your local settings in cowrie.cfg and the default settings will automatically be read from cowrie.cfg.dist ,meaning we can add just the desired configuration in the cowrie.cfg without having to copy all the contents of the cowrie.cfg.dist .
## Make sure you create the file in the cowrie/etc directory ##
$ nano cowrie.cfg
The configuration files are located in the cowrie/etc/ directory.
However to run the honeypot with a standard configuration, there is no need to change anything.
In order to make the honeypot easier for attackers to discover, we can configure it to listen on port 22. If your VM is already listening for SSH connections on port 22 you can easily change it by editing the config file.
Use an editor to open the configuration file and edit the line “Port” , save, exit and restart the SSH service.
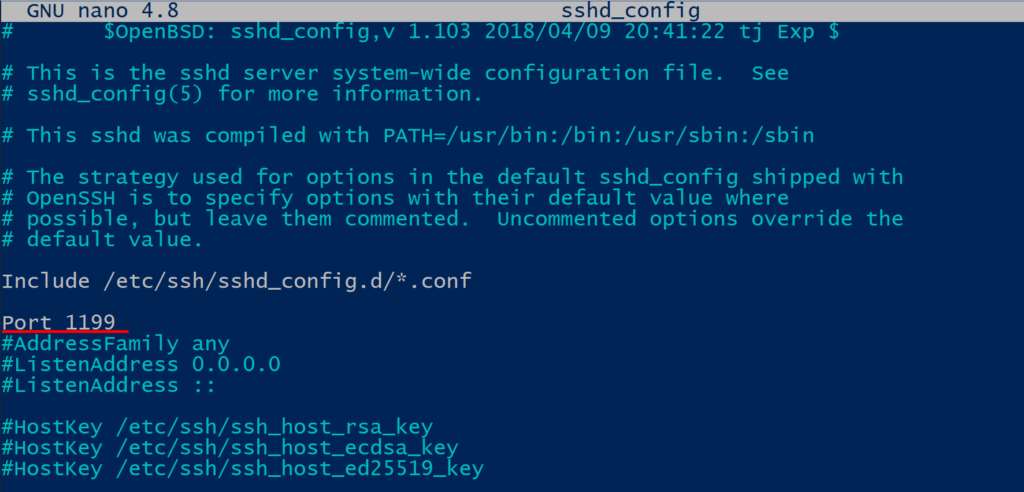
# nano /etc/ssh/sshd_config
# systemctl restart sshd
Now that our VM is listening for SSH requests on port 1199 we can safely forward any traffic coming to port 22 to port 2222 of our honeypot. To do that we’ll use iptables.
$ sudo iptables -t nat -A PREROUTING -p tcp --dport 22 -j REDIRECT --to-port 2222
4. The bear is sticky with honey
And we are ready to go. We can start the service by using the start command located in the bin/cowrie path.
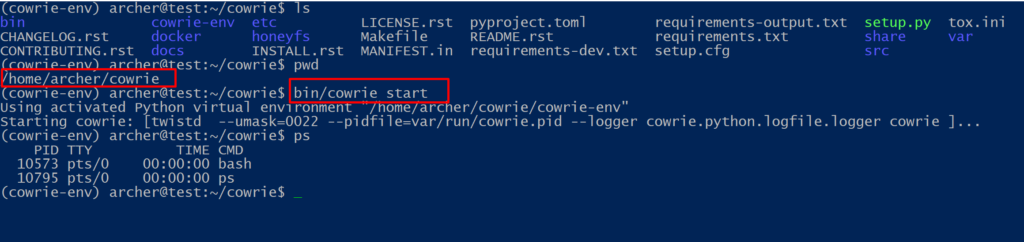
Our honeypot is currently using default configurations which means the credentials are root/12345.
Let’s try to connect to it and run a few commands.

We are in, the honeypot is working, actively listening on port 22 for incoming SSH connections.
Any commands that the attackers enter in the terminal will be stored in the files located in the var/lib/cowrie/tty directory, any connection attempt (either successful or unsuccessful) or debug log is stored in var/log/cowrie/cowrie.log . Furthermore you can replay the entire session shell history by using bin/playlog followed by the full path of the tty log file.
$ bin/cowrie/playlog var/lib/cowrie/tty/<filename>
In the video below you can see a captured shell session (using playlog).
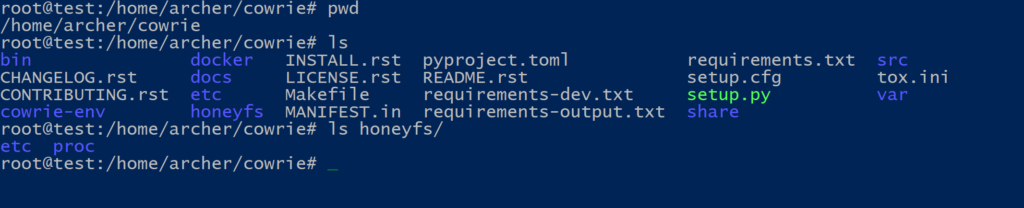
As I mentioned before, the honeypot comes with it’s own fake filesystem, located in share/cowrie/fs.pickle. The contents of the filesystem are stored in the honeyfs directory.
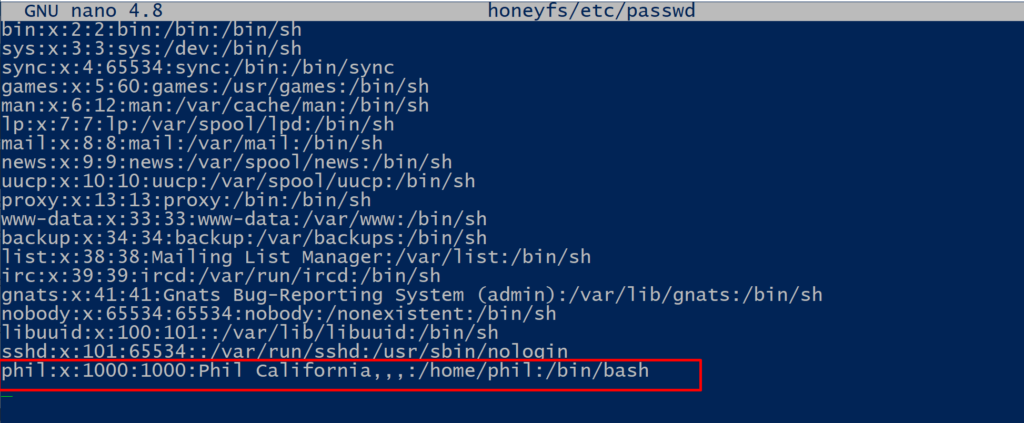
Note, the default user is called phil, which makes it easy to identify cowrie honeypot, so consider changing the default user. You can modify the user by editing the honeyfs/etc/passwd file, specifically the userid.
$ nano honeyfs/etc/passwd
$ bin/fsctl share/cowrie/fs.pickle
fs.pickle:/$ mv /home/phil /home/<username>
$ bin/cowrie restart
For additional information about cowrie visit the FAQ page.
Lastly, keep in mind that we can use the usual commands to start/stop cowrie.
Start : bin/cowrie start
Stop : bin/cowrie stop
Restart : bin/cowrie restart
Status : bin/cowrie status
Edit 28/4/2022
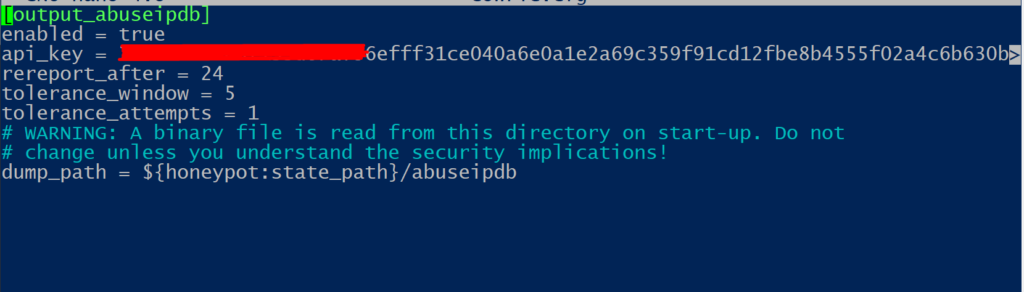
Enabled and configured the AbusedbIP plugin. It automatically reports offending IPs on the AbusedbIP web service using an API key. Configuration is pretty straight forward. You basically need to :
a. get an API key (requires registration)
b. Edit the configuration file (etc/cowrie.cfg)
That’s all folks, hope you found it useful. In the next posts we will go over how to visualize statistics using graph outputs and how to build the T-Pot honeypot suite.